

Watermelon nails have been the most requested of all our designs, they are really cute and scream summertime. Here is the very requested DIY Watermelon Nails guide.
1. Apply a base coat of your favorite red or pink either will do , a fast drying polish is best as you are going to be applying more layers. *Tip: sometimes I do the base coat the night before* Once base is dry, section off the tip of your nail with a white nail art pen - these are really easy to use and help a lot if your not confidant doing a line freehand with a brush. If you have short nails, don't worry just make an imaginary tip approx 2mm from the end of the nail.
2. Using a green nail polish on a very small paint brush, the ones I use are from an art supplies store so it doesn't have to be a special. Fill in the tip sectioned off buy the white line.
3. To create the seeds of the watermelon take a nail pen and carefully draw little strokes in a cute formation.
4. Wait at lease 30-40mins to dry and then apply your favorite topcoat. Topcoat will glamorise even the dodgiest nail art. TRUST ME. Applying a topcoat is the equivalent of flattening an image in Photoshop it just makes everything look pretty and shiny.
TA-DA! How easy was that! Can you believe it?
Please let me know if you have any other nail art design requests? Either pop a comment down below or email beautegazette@gmail.com or on the Beauté Gazette Facebook page HERE!
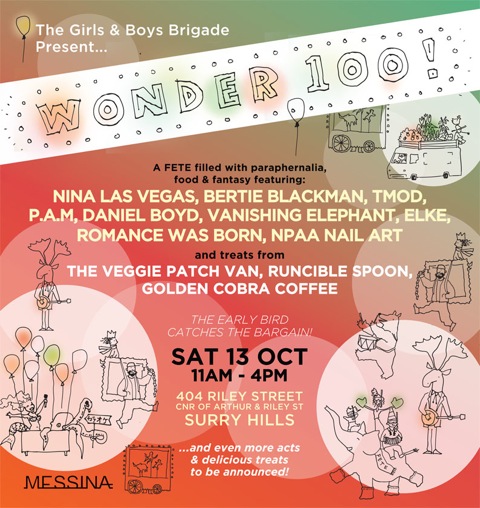
Also if you LOVE this nail tutorial and live in Sydney please come on down the the WONDER 100 Fete this weekend I will be there with nail club NPAA doing amazing mani's! All of the money we make will be going to The Boys and Girls Brigade which run very cool programs for kids and young people helping them make positive life decisions.
HOPE TO SEE YOU THERE!
No comments:
Post a Comment